My good friend and long-distance assistant, Julie from The Little Kitchen, came over a few weeks ago for a visit. I’m not a very good baker, thus the lack of fancy cakes and sweets on this blog. But Julie is. So I roped her into helping me bake a Halloween themed cake using a skull pan from Wilton.
Nathan wanted scary scary Skeletor.
Instead of baking from scratch, we opted for cake mix from a box – red velvet!
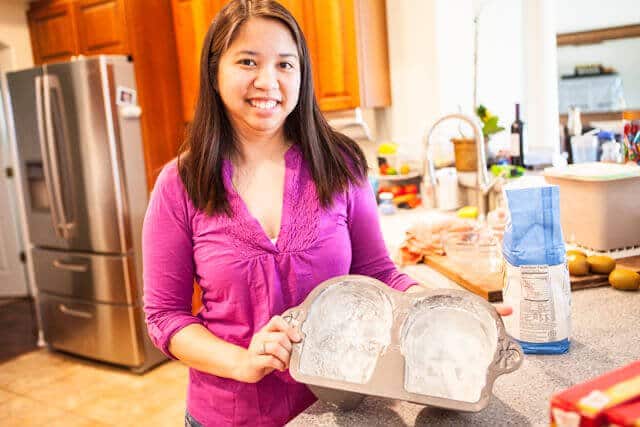
First things first, grease your skull cake pan thoroughly…you can use a cooking spray that also has flour like Baker’s Joy. We didn’t have any so we used the old fashioned method of shortening and then added flour. Don’t forget to flip the cake pan over and tap and shake to remove the excess flour.
We used these measuring cups, little piggies, aren’t they so cute?

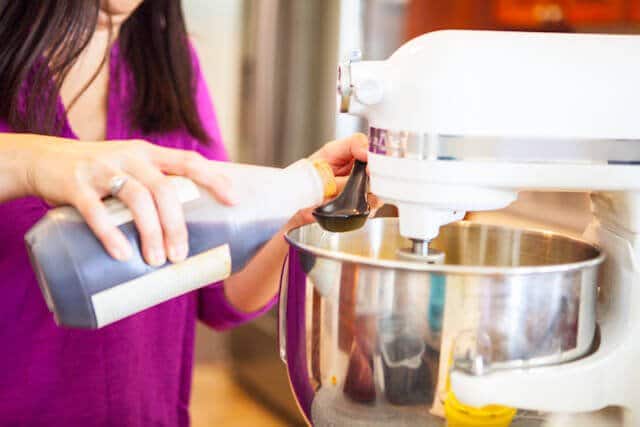
I can’t say enough how fortunate I feel that we get farm fresh eggs from our wonderful chickens every day! Ahhh but we didn’t have enough that day, I made Julie and I scrambled eggs that same morning. We added a little bit more oil and water to the cake mix and all worked out.
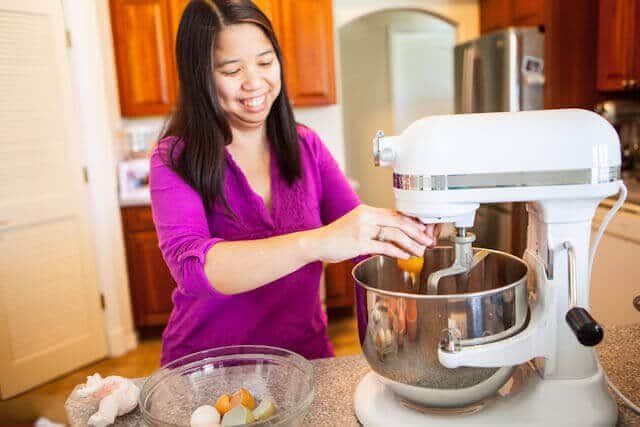
Working on cake batter for the skull cake! We used two boxes of regular sized cake mix for this recipe. You’ll have some leftover because the cake pan only requires 10 cups of batter (2 cake mixes equals 12 cups)…I’ll show you what to do with the leftover batter at the end of the post.
Isn’t she pretty? My new favorite countertop appliance, the KitchenAid 7 Quart Stand Mixer in white. It’s a workhorse.
Look at that bloooood red batter!
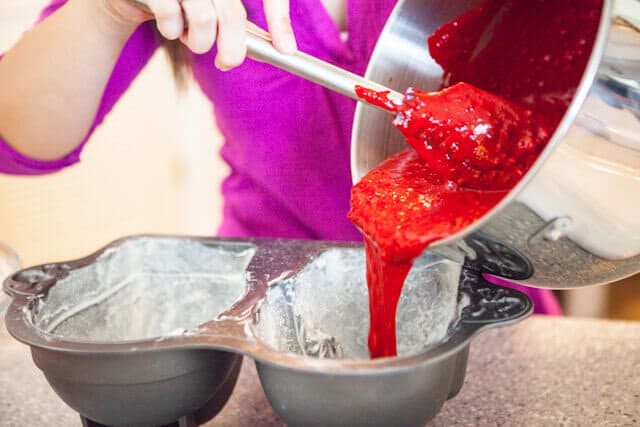
Fill the both cavities of the cake pan 2/3 full. Put it on a cookie sheet before putting it in the oven…just in case you accidentally overfill it, the sheet will catch it.
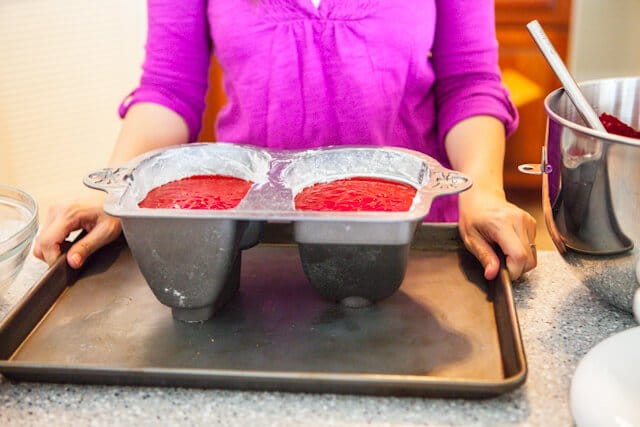
Bake for 65-75 minutes at 325 degrees.
After removing the skull cake from the oven, allow the cake to sit for 15 minutes on a wire cooling rack. Then, place that same wire rack on top.
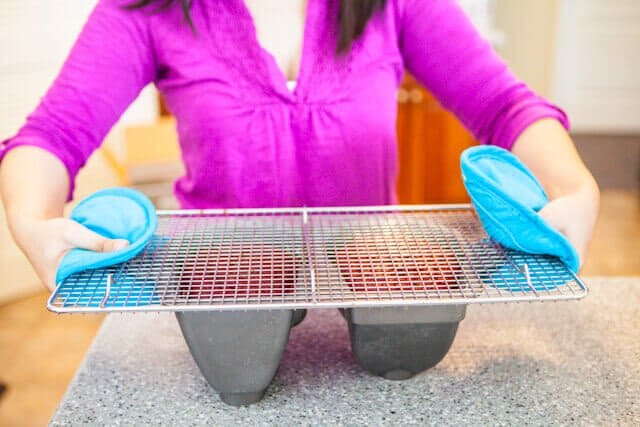
Then, flip it over.
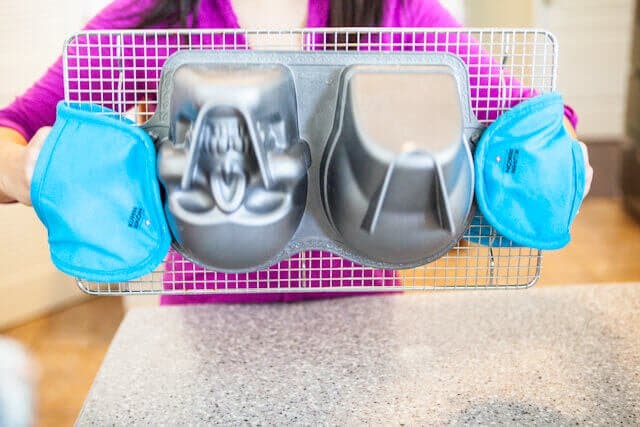
Julie used oven mits because the pan is still hot. The skull pan has easy little tabs so you can hold onto it while flipping.

And then brace yourself!
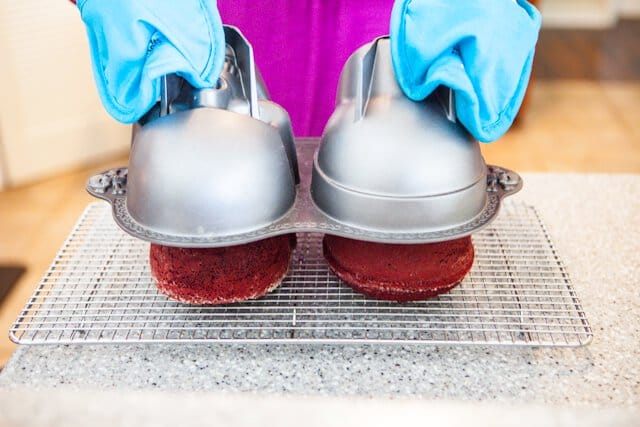
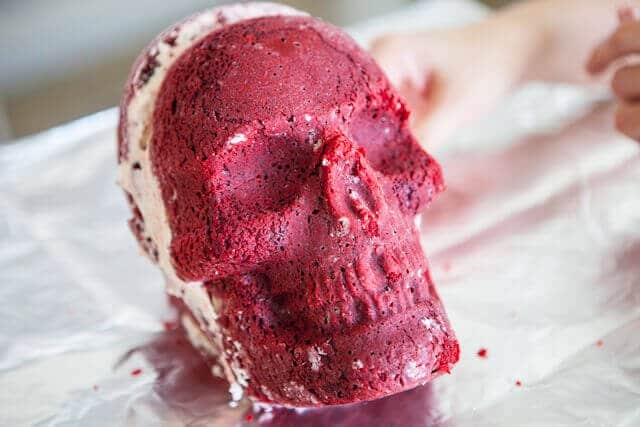
It comes off so easily!
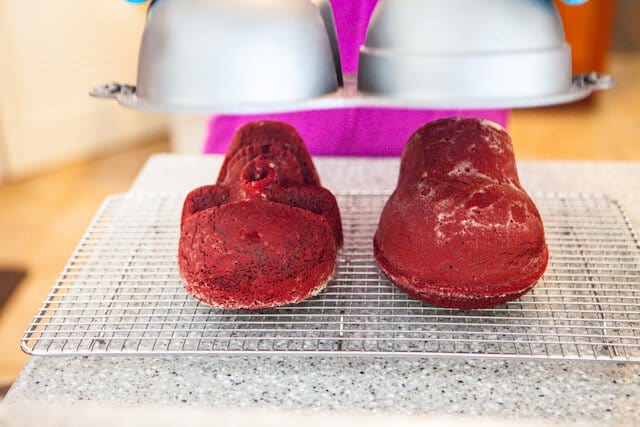
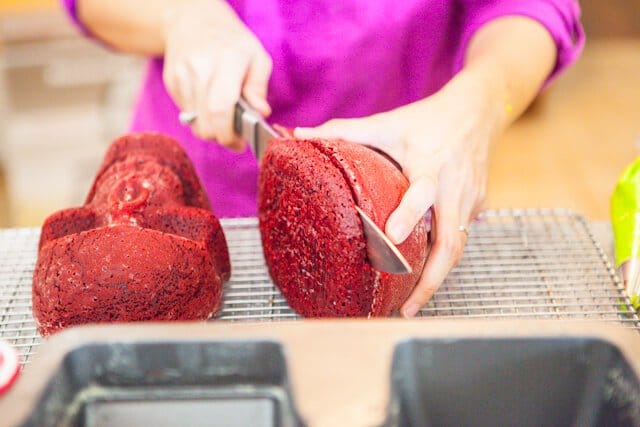
Julie decided to cut the tops off of the cakes to make it flat for putting them together.
While the cake was baking, we made frosting. Julie made her favorite recipe called Buttercream Dream.
Use a little bit of frosting as glue to put the frosting together. Can you see Nathan is supervising. 🙂

And there you have it…creepy and perfect…isn’t it?
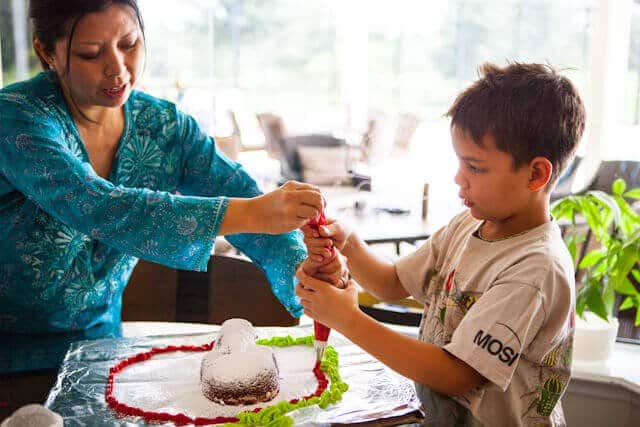
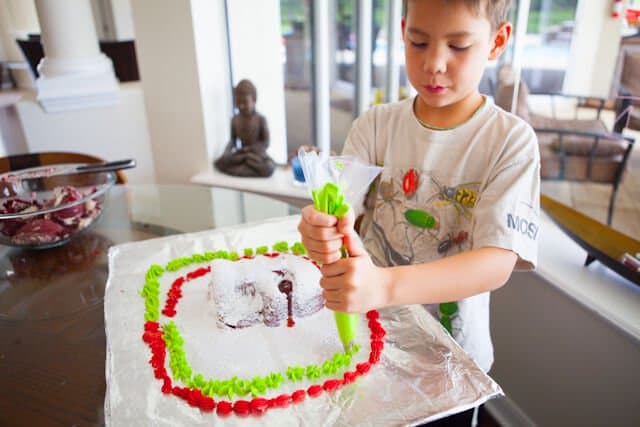
Julie brought over her decorator (icing) bags, couplers and tips. She dyed some frosting in red and green and taught Nathan how to do shells and borders.
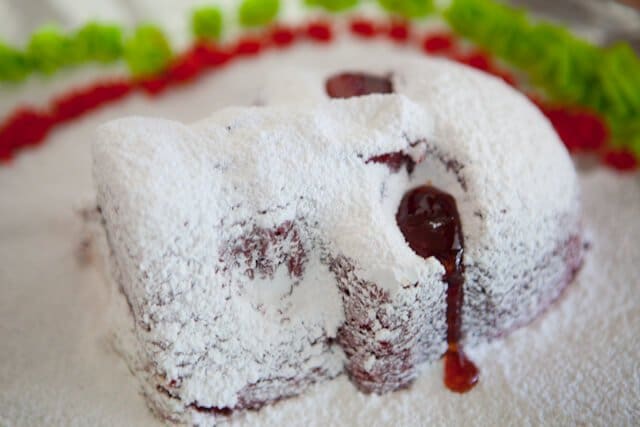
We heated up some raspberry jelly in the microwave for oozy, bloody eyes.
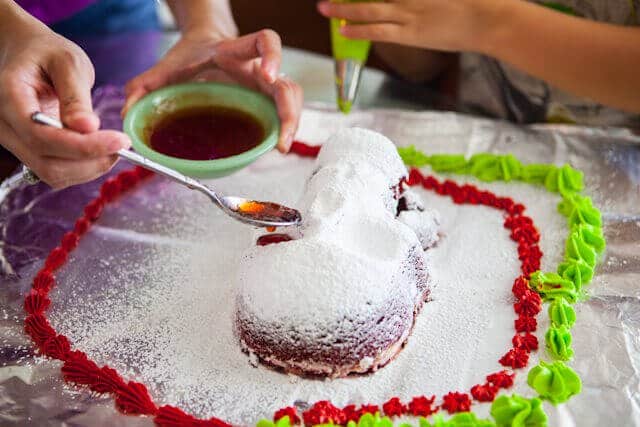
Creeeeepy!!!
He’s quite the little expert now…he loved it!
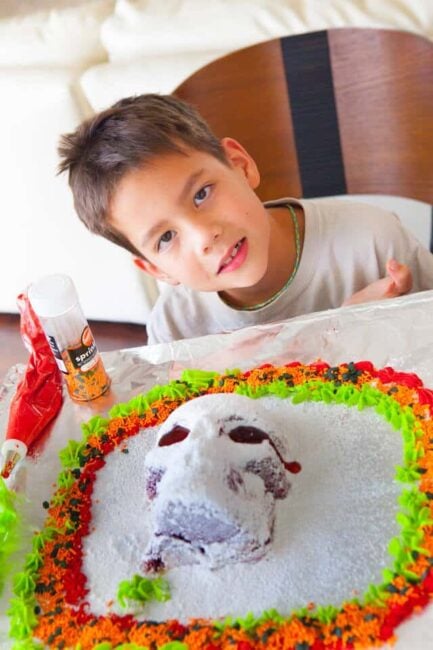
Oooh scary right? This cake looks perfect even without decoration. He looks like Skeletor from He-Man.
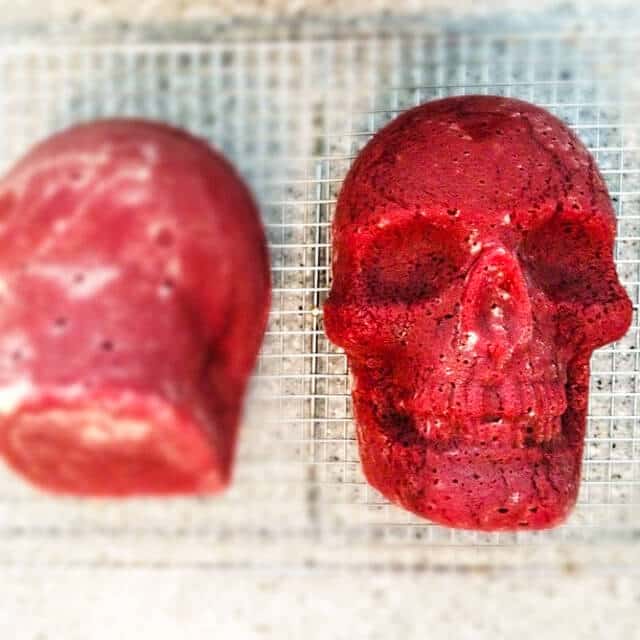
Here are some more great ideas on how to decorate your skull cake!
What to do with leftover cake batter
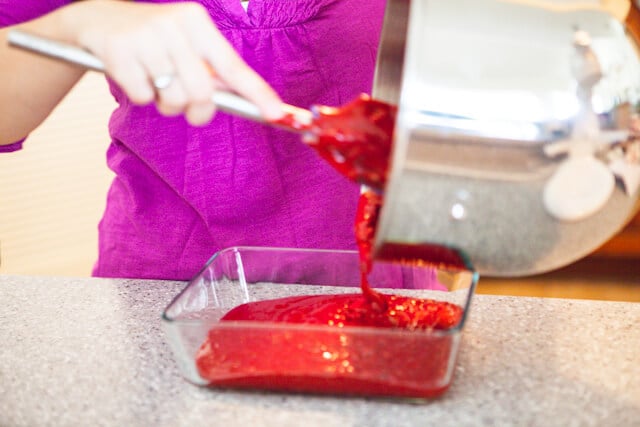
MICROWAVE IT!
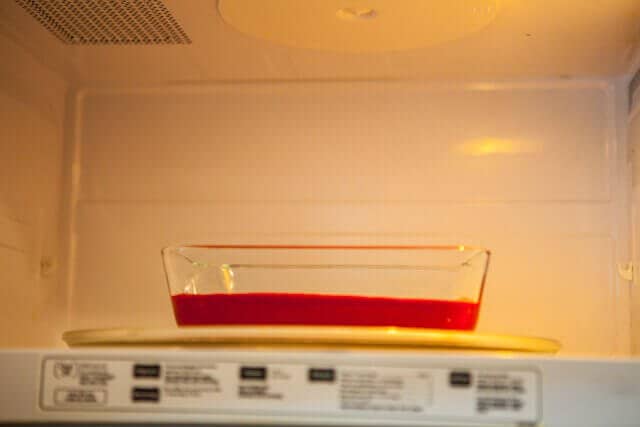
You won’t believe how easy it is and how moist it comes out.
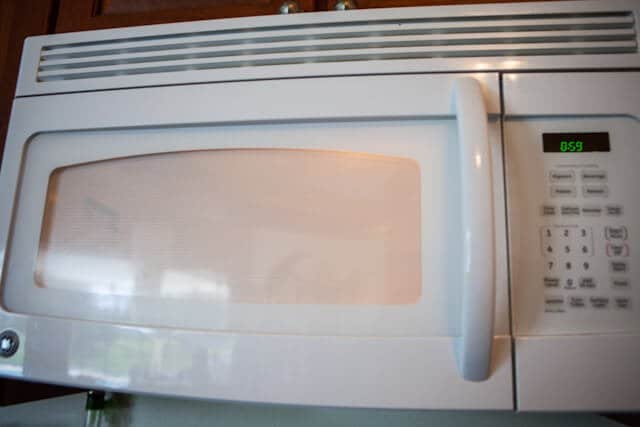
Microwave it for 9-ish minutes at first. Check and add a minute or so until the middle of the cake is cooked through and the sides pull away from the edge of the pan.
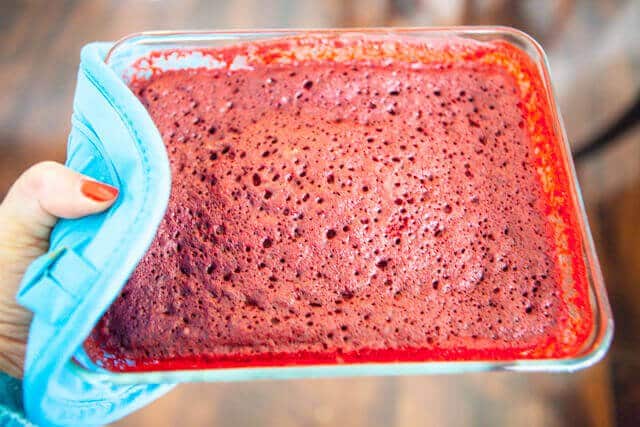
Comes out perfectly “baked”. Sprinkle some powdered sugar on top.
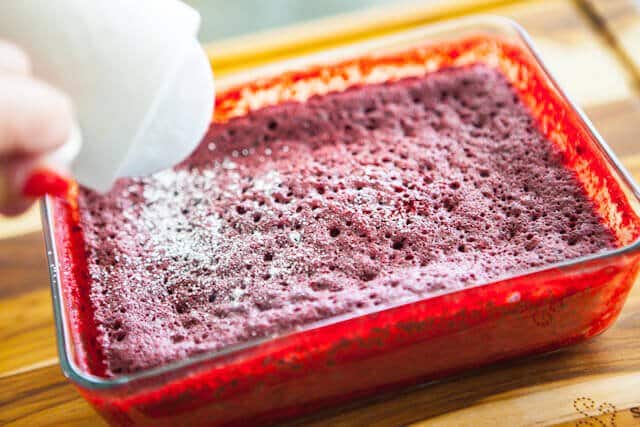
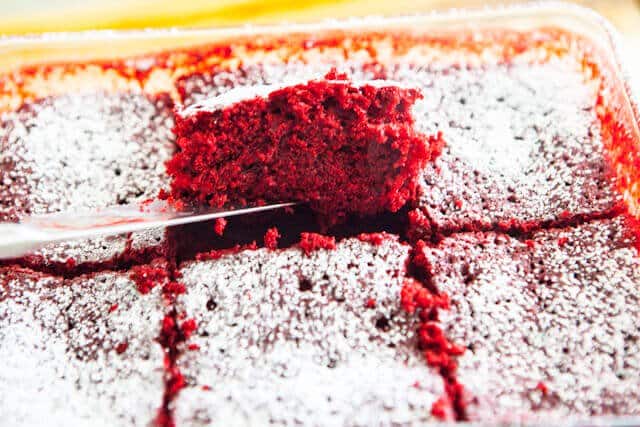
Look, see how perfect it came out?
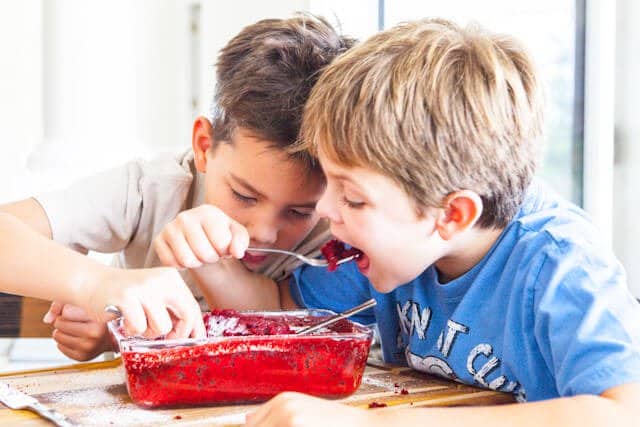
They DEVOURED IT. That’s Nathan and his buddy, Jake.


I believe everything posted was actually very reasonable.
However, think on this, suppose you were to write a killer post title?
I ain’t suggesting your content isn’t solid, however what if you
added something that grabbed a person’s attention? I mean Halloween Skull Cake | Steamy Kitchen Recipes is a little vanilla. You could look at Yahoo’s front page and
watch how they create post titles to get people to click.
You might try adding a video or a picture or two to grab readers interested about everything’ve got to say. Just my opinion, it could make your blog a little bit more interesting.
Jaden, you’re truly a mom of inspiration and beauty. I like everything you have shared, the details made making this halloween cake easy and exciting to do. Sometimes, it only takes a bit of inspiration to make something big, and I see that in every post that you make. Thanks for this. Lovely children! Happy halloween!
Great idea for a Halloween treat! Although a bit on the scary side.
Actually, this post reminded me of a holiday recipe contest put on by this newsletter I subscribe to. If your idea is good enough, you can even win a prize!
More info here, if you’re interested:
https://apps.facebook.com/whcontests/the-natural-knowledge-247-holiday-recipe-contest
Wow! How much fun did you guys have? And I love the kids getting involved! Yum!
Perhaps it is the skull pictures leading up to it but in that last picture, I picture the boys as little zombies eating brains…or a brain cake 😉
I’ve got my niece and nephew coming over for a little Halloween party next weekend. I’ve been looking for some great, Halloween inspiration. Found it! PS- The picture of Nathan and Jake at the end is adorable!
There are so many things that I love about this blog post! I really love that spooky skull cake and totally nothing wrong with using boxed cake mix haha, I do it when I’m being lazy (shhhh don’t tell haha) also those piggy measuring cups are way to cute! My cousin would love those! And that KitchenAid 7 Quart Stand Mixer, oh my lord, can I just tell you that thing looks awesome!
How fun! 🙂
Looks like so much fun. Thinking we need a Florida Food Blog Forum reunion soon 🙂
I’m still into it, despite it does look scary. But, the cake looks so moist and the buttercream is so yum! Take me to La La Land now. You guys are so awesome!
This was so fun, Jaden! 😀 Nathan is seriously a pro- master cake decorator!! xoxo
Love the raspberry jelly eyes! So creepy.
Love the two of you guys together… I agree with you totally with the skeleton looking like Skeletor… 🙂
Great cake ideas and cute kids. You must have made it for my birthday today! Thanks! Love your ideas and recipes!