
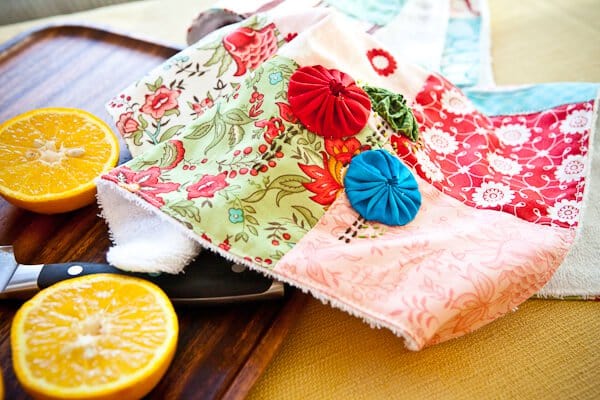
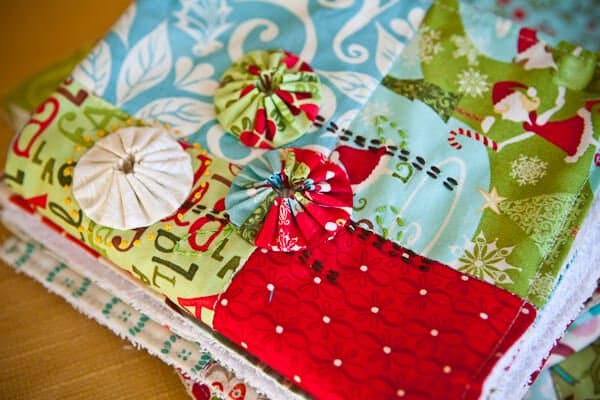
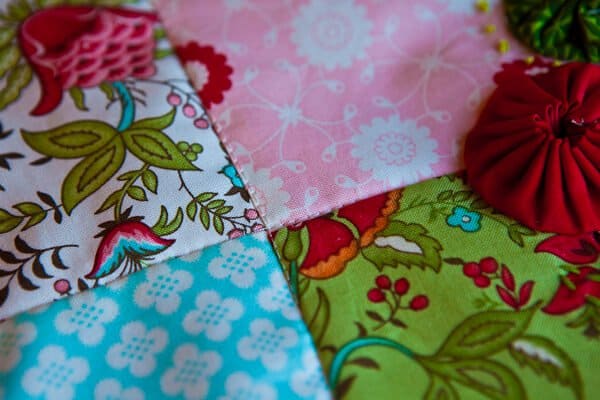
Here’s a gift you can make in an afternoon! These very simple kitchen towels are made with quilt quarters (bundles of color-coordinated fabric already-cut), terry cloth fabric and decorated with a few yo-yo’s that even your kids can make.
The boys and I made these towels to give as Christmas presents to their teachers and some of our friends (uh oh, I hope they aren’t reading this post).
If you can sew a straight line, you can make these towels! So don’t feel like you have to be a quilter or good sewer…hmm, that word doesn’t look right….sew-er to create hand-made kitchen dish towels. I’ll walk you through it, step by step.
The basic design came from Seams to Me book by Anna Maria Horner, but I’ve made the pattern much simpler and cut out many of the steps so that my kids could help me (and honestly, I’m not a great sew-er)
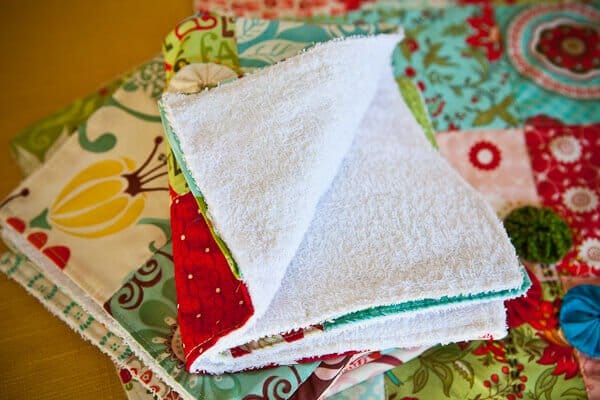
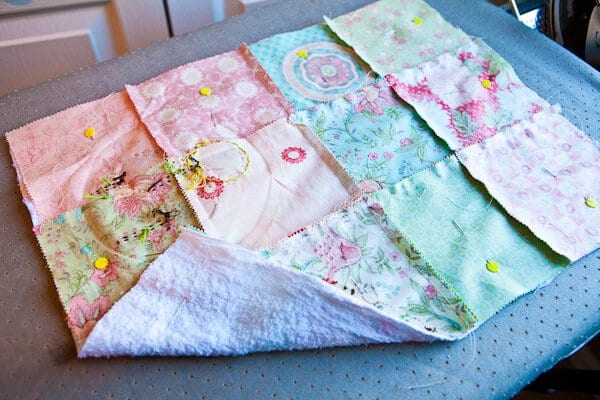
I love the terry cloth back, it just makes the towel more useful (pet peeve are dish towels that aren’t absorbent enough to dry my hands or dishes!). The terry cloth is just a few dollars per yard at the fabric store.
How to Sew Kitchen Hand Towels
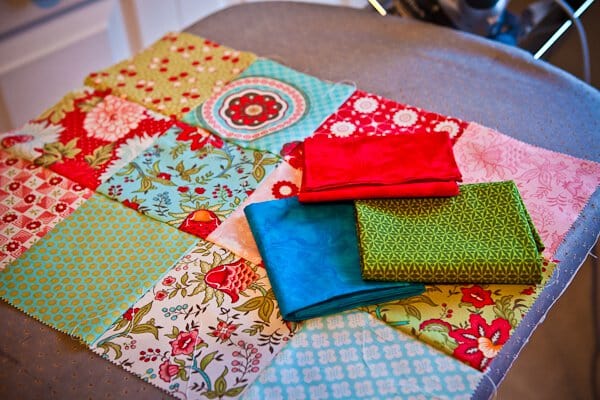
Here’s what you need:
1) terry cloth fabric (from your local fabric store, sold by the yard) 1 yard will make about 6 towels.
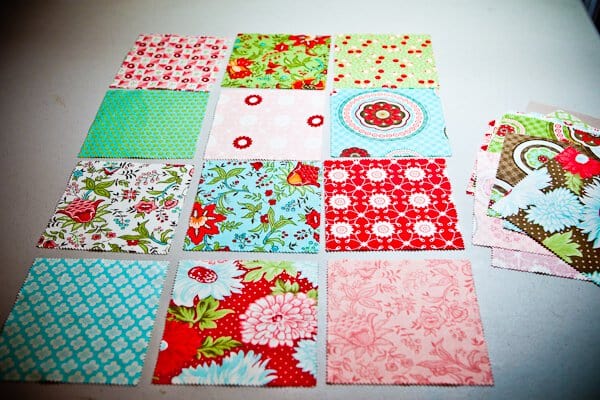
2) bundle of quilt quarters called “Charm Packs” (charm packs are color or design coordinated fabrics that are conveniently pre-cut in squares) or you could use fat quarters
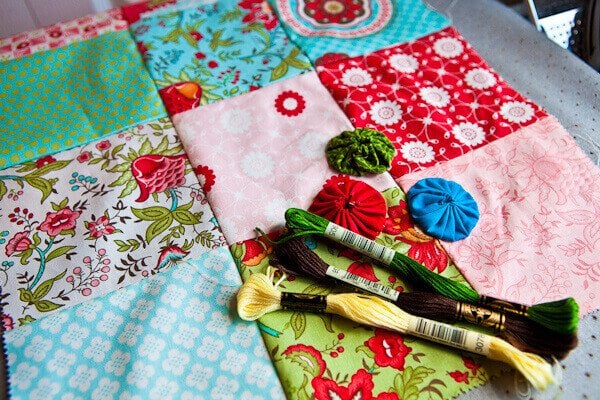
3) green, brown, yellow embroidery floss
4) a fat needle with big hole (big enough for the embroidery floss to go through)
5) a regular sewing needle.
6) embroidery hoop (not shown in photo)
OPTIONAL: the plastic yo-yo maker. You can make yo-yo’s without the plastic doo-hickey.

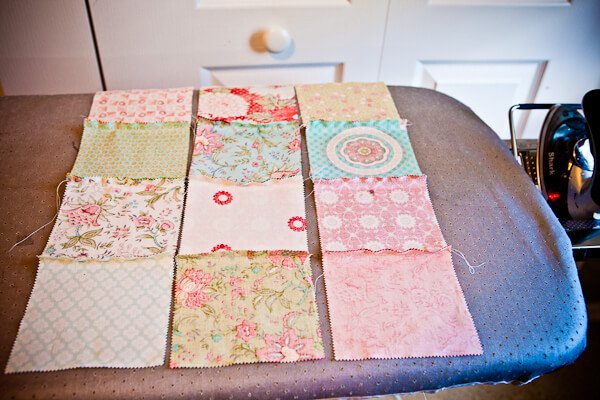
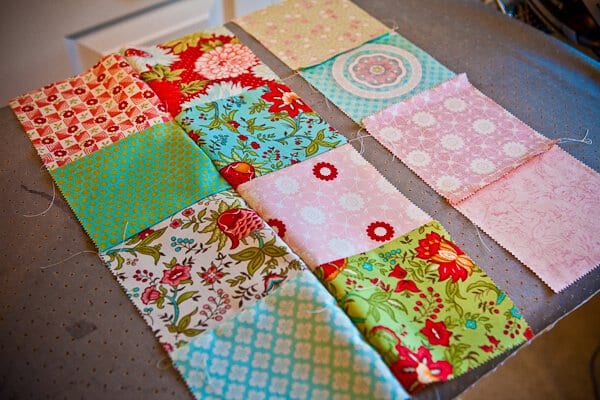
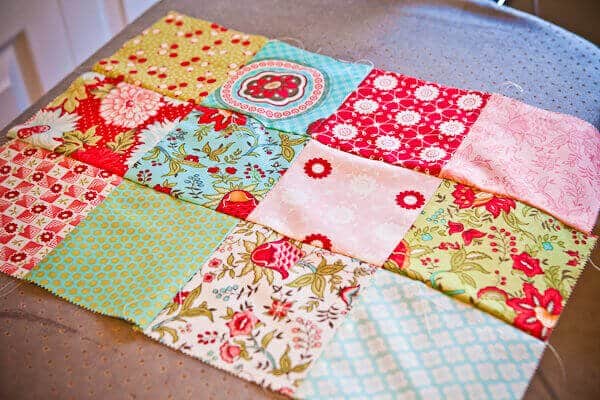
The kitchen towel is made with 3 squares wide and 4 squares long, so lay out how you want your towel to look. Though with coordinated charm packs, it’s pretty simple and the towel will look good no matter how the squares are laid out.
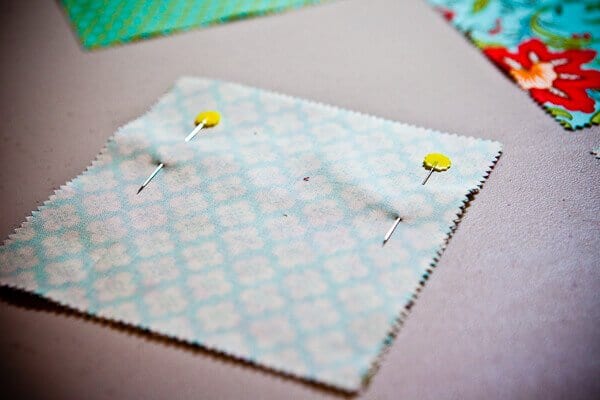
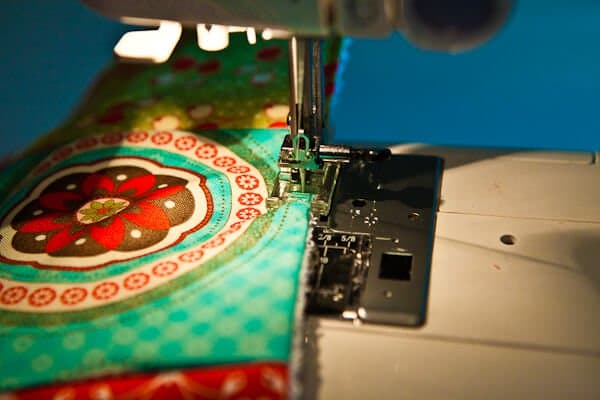
Now we’ll sew them together. Start with 2 squares right sides together.

Pin them.
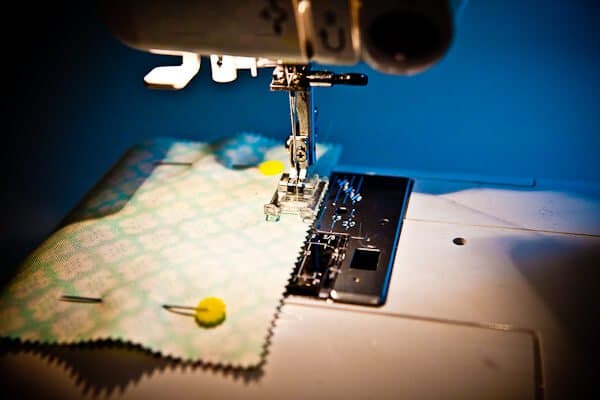
Sew ’em together on one side.
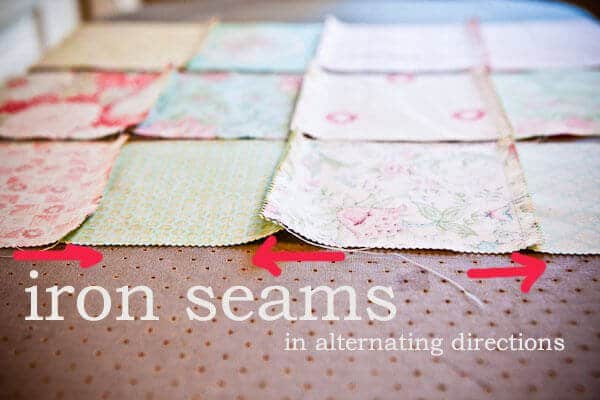
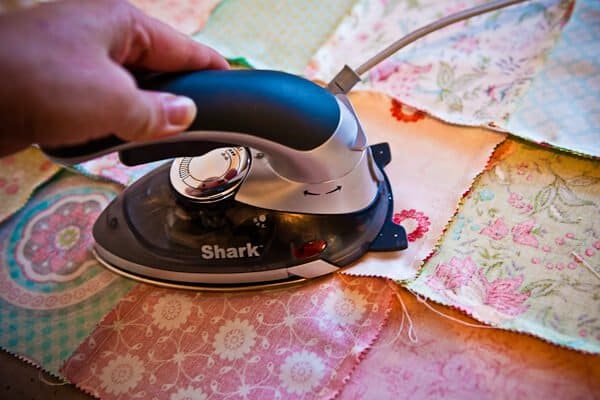
You’ll sew your 3 strips of 4 squares each just like this. Before we sew the strips together, let’s iron the seams.
My mother-in-law taught me that ironing the seams in alternating directions (instead of opening up the seams and ironing) creates a stronger seam.
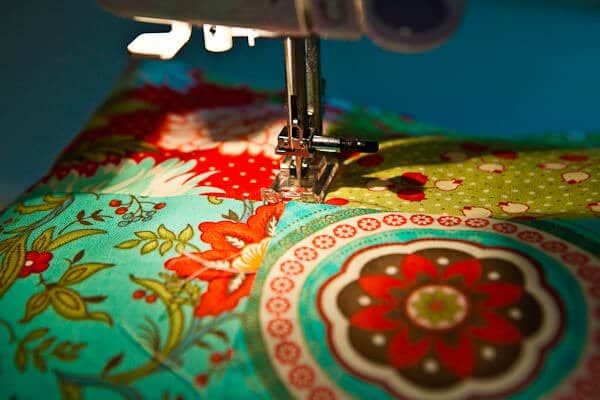
It’s time to sew the rows together. . Lay row 1 over row 2, right sides together and pin together. Make sure that the seams that you’ve just ironed are laying flat. I like pinning on the seams so that they stay flat. Sew.

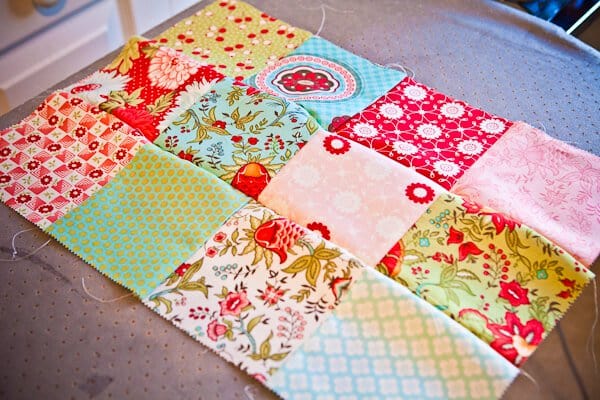
Now I’ve got 2 rows sewn together! Time for the third row.
And here you go.
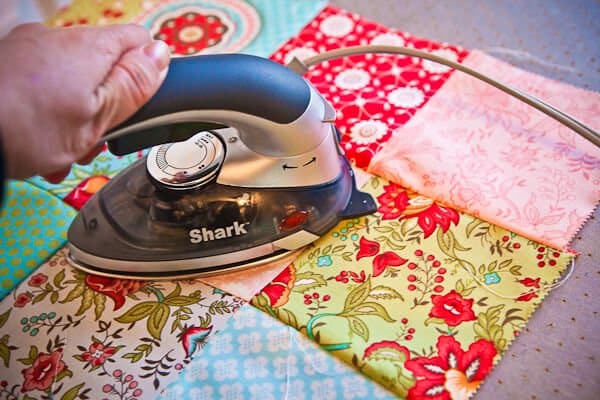
Iron the seams again so they lay flat.
Turn it over and iron the right side too.
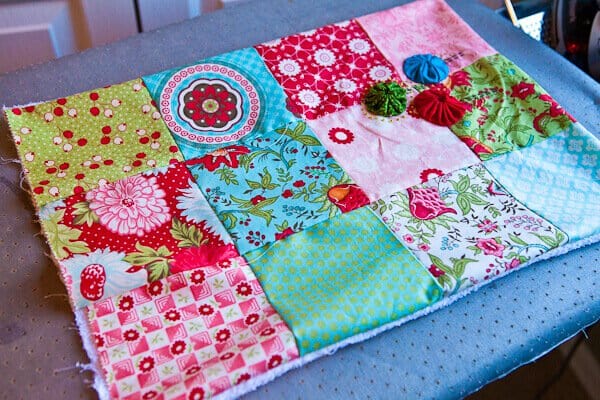
There. The squares are all done. Now it’s time to embellish with yo-yo’s and embroidery if you want.
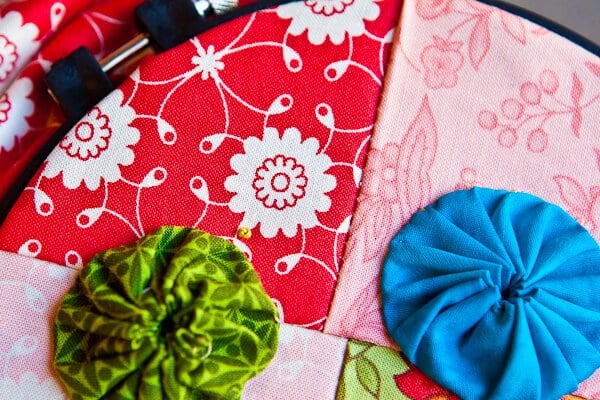
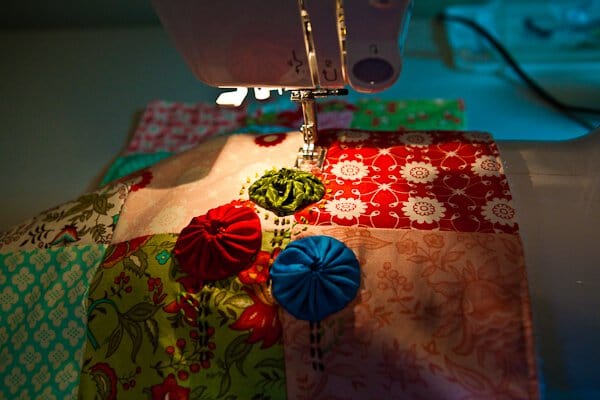
I’ve picked out 3 colors for my yo-yo’s. How to make Yo-Yo’s.
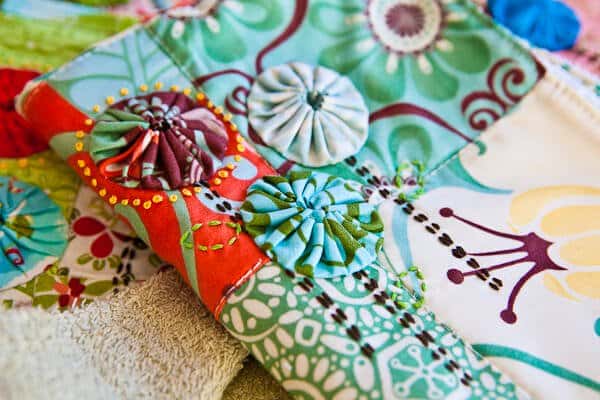
Place the yo-yo’s where you want them. These will be your flowers. We’ll embroider a brown stem, green leaves and some pretty french knots around one of the yo-yo’s.
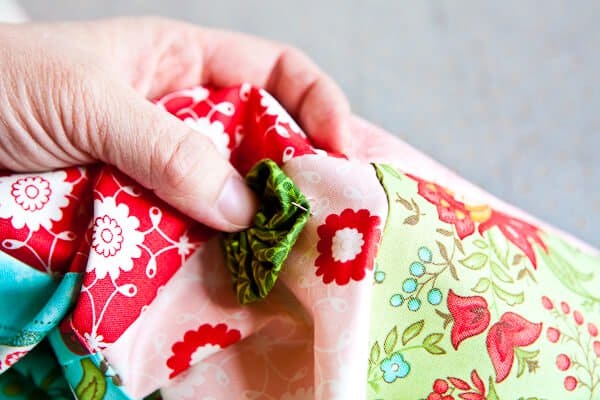
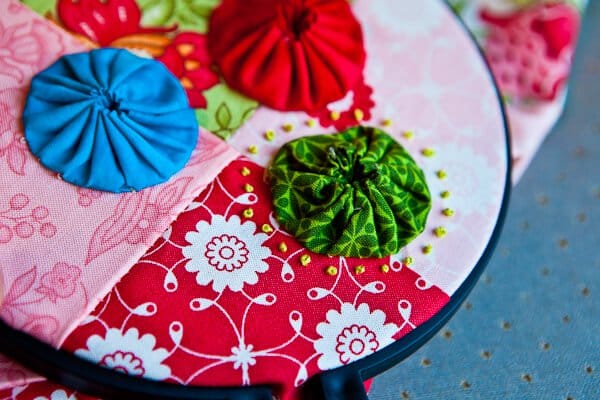
Hand-sew the yo-yo’s on the fabric. Use little stitches and go all the way around, remember these towels have to withstand the washer and dryer!

To make the yellow french knots, I like using an embroidery hoop to keep the fabric taut, but it’s totally not necessary. Thread your big eyed needle with the embroidery floss. Come up through the fabric.
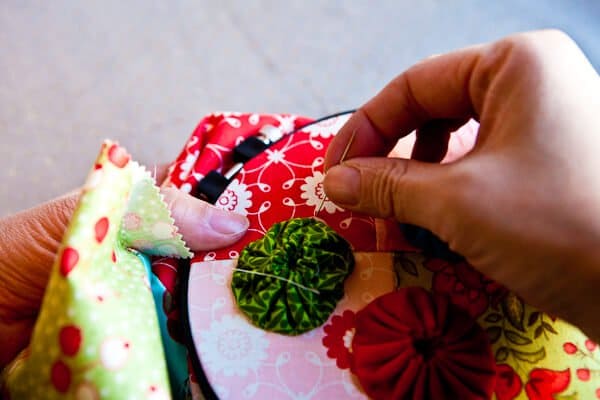
Hold the needle right near where the floss emerges. Use your other hand to wrap the embroidery floss around the needle 2 or 3 times. Do this as close to the fabric as possible. Hold the floss taut with your hand – don’t let go!
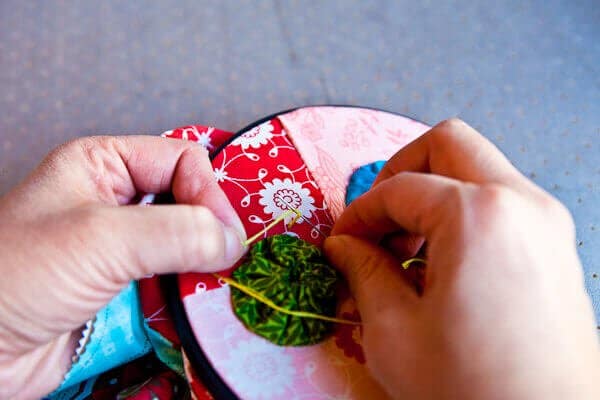
Now you’ll go back into the fabric, right next to (but not into) the hole you came up from. Keep that left hand holding the floss!
While you pull the needle and thread through, make sure you are still holding that floss taut!
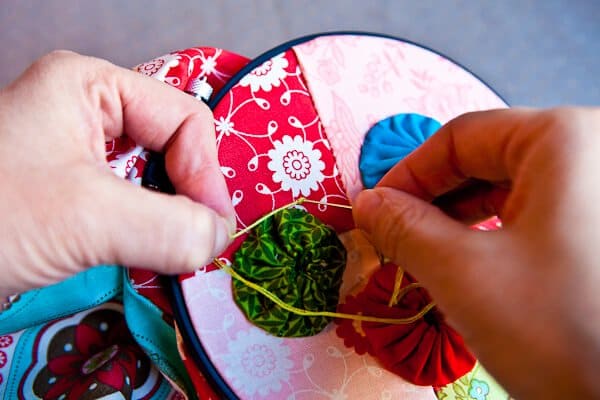
And there you go – a french knot.
Go all the way around!
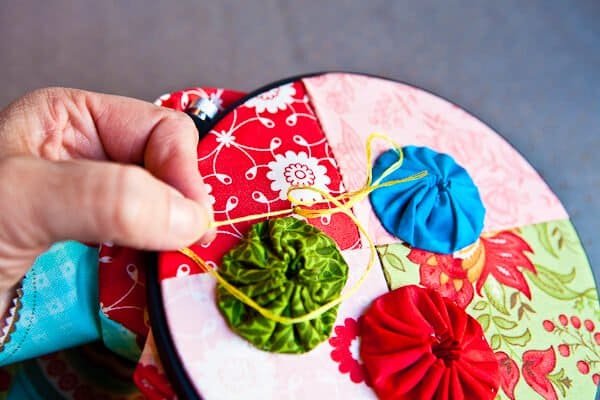
Embroider the stems and leaves.
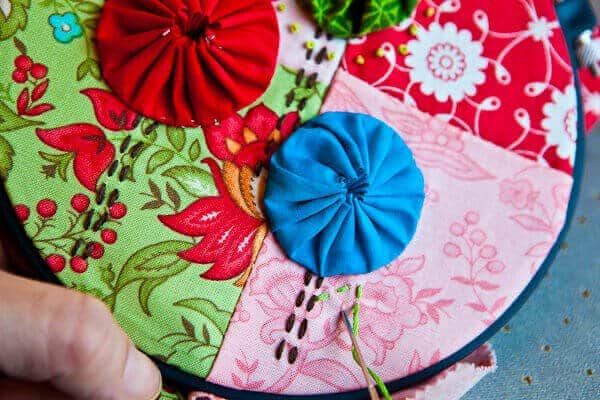
Done!
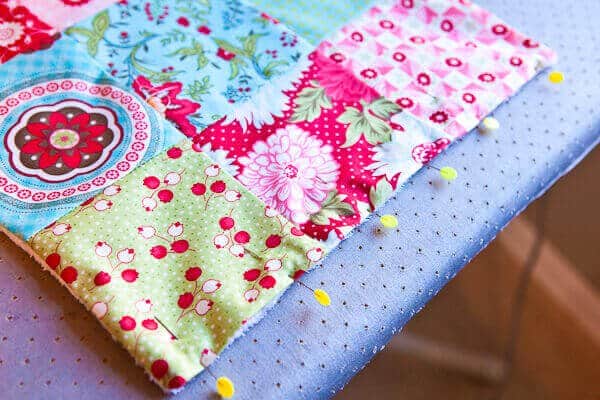
Okay, now it’s time to sew the fabric to the terry cloth. Pin right sides together.
Sew 2 long sides and 1 short side. Turn so that right sides are now on the outside. Looks like it’s like a pillow case! These would make cute pillows too….
Press.

Fold under, pin and press the remaining edge 1/4″
Sew the remaining edge together at 1/8″ seam allowance.
Try to keep that stitch even and straight. After you’ve sewn that open edge together, keep going! go all the way around the towel’s edge at 1/8″ seam allowance. This helps keep the towel strong and the fabric from tweakin’ after use and washings.
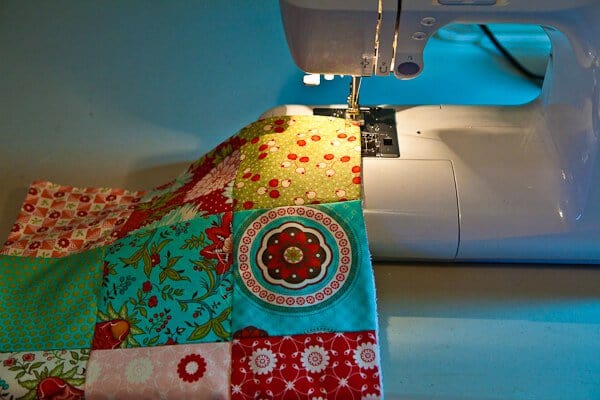
Last step is to sew over each row. Just sew right on the seam line.
Both directions.
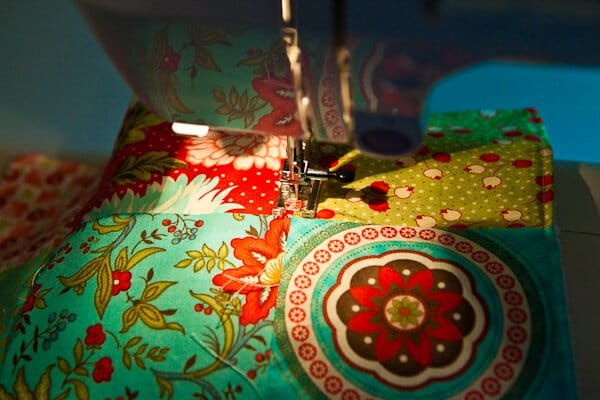
Just stop your needle and skip over the yo-yo and embroidery section.
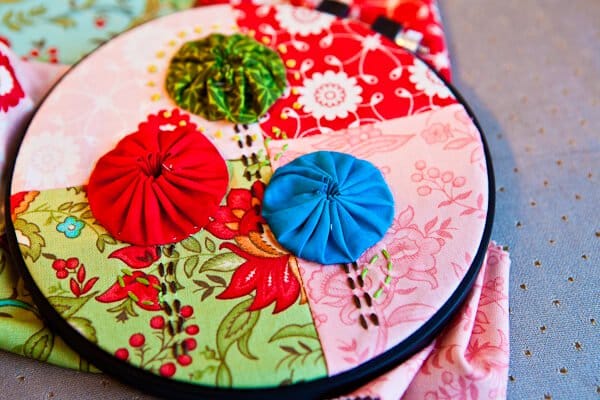
So that it looks like this:
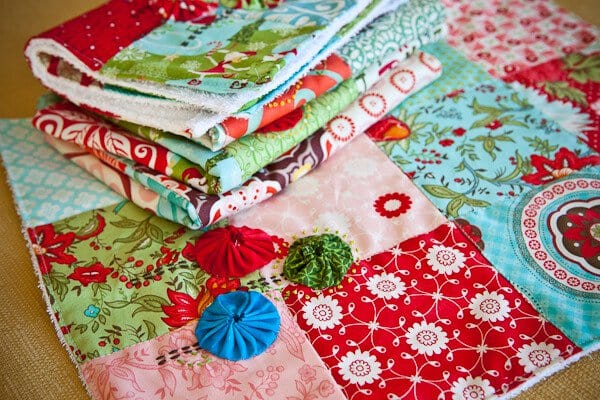
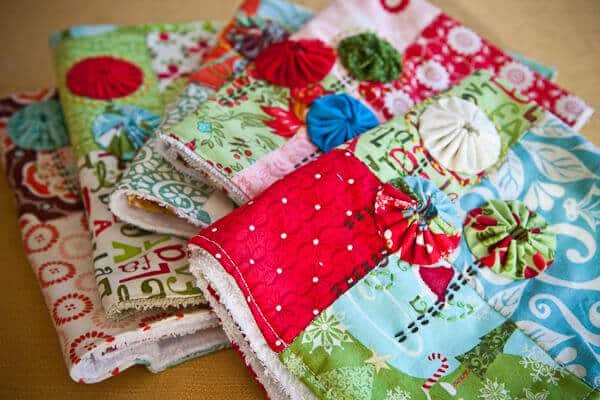
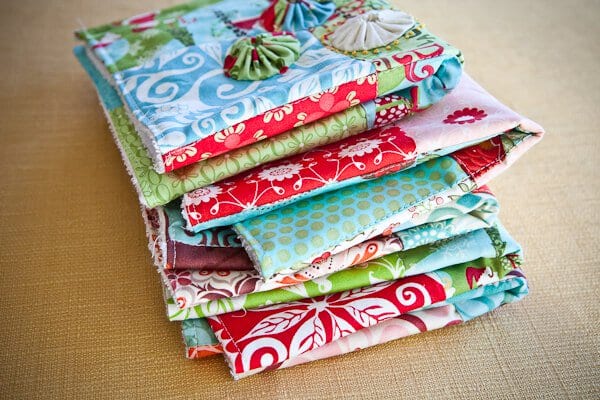
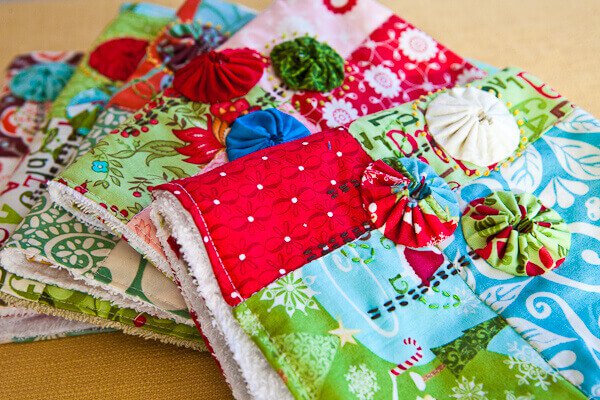
Beautiful hand-made kitchen hand towels. We made a few of them with Christmas charm packs.
***
What else can you make with yo-yo’s? Christmas Tree Ornaments!


Adorable and great ideas for working with kids. Did you use 5″ or 10″ charm packs?
These are so cute! Did you prewash the terry cloth? I am concerned they will pill when I wash them.
I did not, but that’s a great idea.
Hi. So cool how years later I’m now just getting to see this. Love it. I’m new to sewing. I found the charm packs that are 5″ squares. When sewing these squares -am I sewing them together with a 1/4″ seam? Thanks again!
Yes! 1/4″ seam 🙂
No sizes were given for the individual squares. Love this pattern. Thank you!!! Could you send measurements to me. please? I want to make these for gifts. So cute!!!
Absolutely adorable! I want to make these for gifts. would be cute to give for Valentines Day or Easter too!
very easy .thank to tell us
These are lovely…. I have been making burp cloths for little ones in a similar style, gonna have to add yo yo’s to class them up!
I love the idea you have with the charm pack fabric–if I just used fabric on hand-what size would the squares be? I have made my own washclothes before-but not dish towels–I love how these look. Thanks
I lvoe these! I make similar burp cloths, but I didn’t even think about making terrycloth versions. I googled how to make a terrycloth towel and found you. I love your stuff.
Thanks! Now off to make my Mother in Law’s Christmas Gifts!
Just made one for my Mom for a birthday gift. I think I’ll be making a few more for Christmas gifts! Of course I need some practice in the straight-line sewing department! Great project! (found you on Pinterest, btw). Happy Thanksgiving!
I know this was a while ago… but you don’t remember what charm pack you used… do you? I love these fabrics
Thank you for this idea! I made two of them this morning and embroidered on them instead of using the yo yo’s. They turned out really cute.
am going to get the required fabric and start these for gifts next year. Thank you. love it!!
AAAAdorable, you did a beautiful job too, if that’s a bad sewing job, I don’t want to know what you’d think of my sewing.
Thanks for the great idea!
I love this idea! Now I know what I will do with some of my left over scrap fabric! I have been needing new towels and haven’t seen anything out there I like so this idea is perfect!
Lovely…
WOW! I love love love this idea!! Thank you for the complete, easy-to-follow directions. Looks pretty easy and cute cute cute.
I’m a gardner first, a cooker second and third, a crafter…can’t garden in the dead of winter but boy oh boy, I can sew! I agree with Vivian, Jaden makes the rest of us look bad BUT, following her lead kicks us up a few notches. Thank you Jaden for all of the great ideas and this 2011 winter keep-myself-from-going-crazy-during-the-dormant-season project!
You rock!
LOVE these! Don’t know how to sew, but have wanted to give my sewing machine a try at some point. This looks do-able! :))
wow!! these kitchen towels are sooo beautiful i dont feel like using them..
Merry christmas!!
I love these kitchen towels!!
Jaden,
Stop giving me new project ideas! I am almost finished with the scarf with the flower and now this? I have a whole bag of colorful washcloths that I was wondering what to do with for the past year. And you have given me another good idea!
Happy Holidays. Will post photos if I ever finish the projects.
Deb
I can’t wait to see the photos of your projects!!!
Okay, really don’t like you anymore ;-). Did you have to be good at crafts too? Damn woman! Makes the rest of us look like the amateurs we are (well me anyway). :-O
awwww….I just gotta lot of time on my hands 🙂
What do you mean you’re not a good sewer? Those are beautiful!
Alison – could you borrow someone’s sewing machine for a couple of weeks to try out? You might find you have a hidden talent!
I’m so glad to hear that I’m not the only one who gripes about non-absorbent dish towels!! I’ve never understood how they make their way out into the world and into our kitchens 😛 Thanks so much for the how-to, I’m dying to dig up my sewing machine to make these!
I wish I had a machine, but I don’t want to get one unless I know I’ll use it! What if I haven’t got the talent to use it?
Wouldn’t these be sweet to bring as gifts to a retirement/nursing home? Makes me want to dust off my sewing machine!
That would be totally sweet! Maybe even add a little loop on towel for hanging on hook too.
Really cute! Absolutely agree with you about dish towels that smear around water. So maddening. Love the ornaments, too!
beautiful dish towels. I also have a pet peeve about the non-absorbent ones. Happy Holidays!
Oh sooo cute maybe I will make gifts last minute after all!
you are a multi-talented chic and so disgustingly brilliant, jaden!! love it!!!
Love it, and I have some wonderful Christmas material that would be perfect! Great idea!
Those are absolutely adorable!! I even love the little ornaments. Send me some would ya??? 😉
Unfortunately, I cannot sew in a straight line. I am sewing-challenged. It looks like a lot of work! yikes! But so gorgeous! I’d like to receive one of these kitchen hand towels, along with that beautiful Christmas ornament! Cool Christmas ideas!
They are gorgeous! What great handmade gifts! Thank you for sharing the idea and how-to do it!!!
So pretty! I can sew, and I’ve always wanted to learn how to quilt. This is the perfect project to start trying.
love this!!! looks so easy. I can do this!
It almost looks like a quilt! Perfect holiday personalized gift!
They would look perfect in MY kitchen 🙂
Love this idea. I think that even I could definitely manage to do this, despite the fact that I haven’t done any sewing since high school. What a great gift idea for family & friends!