

Every year, the kids and I hand-make several ornaments for the Christmas Tree. One of the most touching moments of the holiday is to admire the tree each year and giggle and reminisce “remember when we made this ornament!?”
It serves as our scrapbook and the ornaments will surely be passed down through the generations of our family (I hope!)
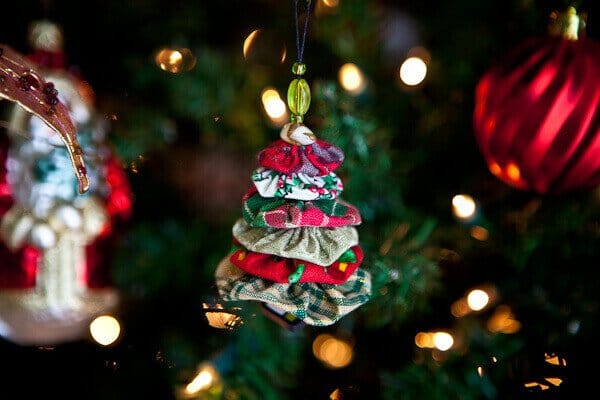
This Christmas Tree Yo-Yo Ornament is very simple to make, kids as young as 3 can help out with either picking out the fabric, beads and sewing.

It’s good family quiet time – and we make extra to give away as gifts.

How to make Christmas Tree Yo-Yo Ornaments
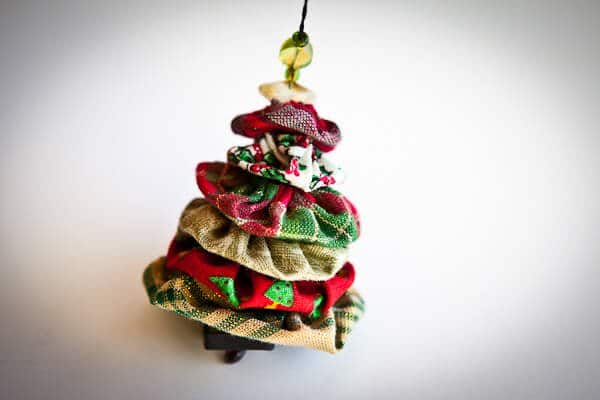
You can make yo-yo’s in any size or color, half the fun is going to the fabric store to pick out your favorite fabrics.

An easier way to get a coordinating set of fabrics is to get a square charm pack. Each fabric is 5″x5″ (around $7 per pack of 40 squares or so). Here’s a set that’s non-holiday that I used for another project.

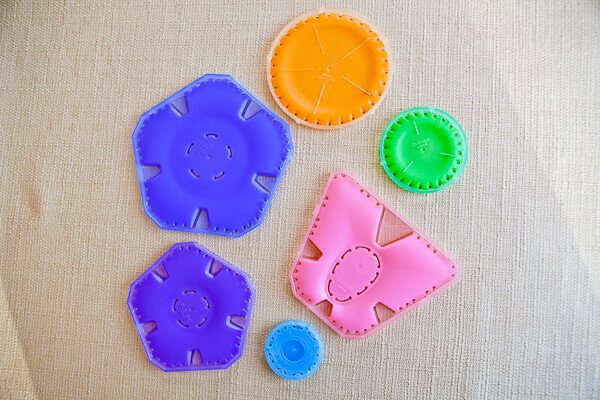
At your local craft, sewing or quilt shop, you can get plastic yo-yo makers, which come in different shapes and sizes. You can make circle, flower or butterfly yo-yos. These just make it easier for kids, but are not necessary – instructions for making yo-yo’s without template is below. You might not be able to find all the sizes that you’ll need – I suggest you print out the template and bring it with you to the store.
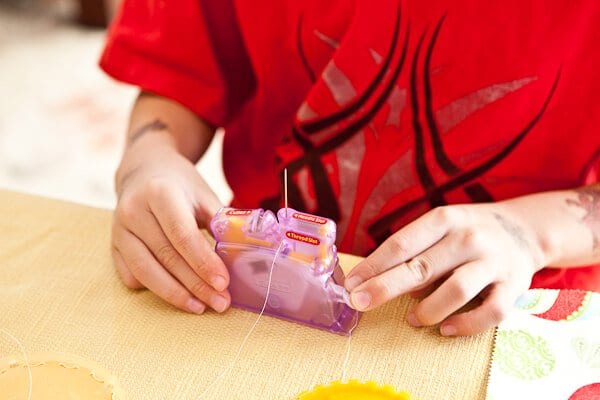
First, thread your needle – my kids use a threader that MiMi, expert quilter Grandmother, gave them. Your thread must be long – so that you can go all the way around.
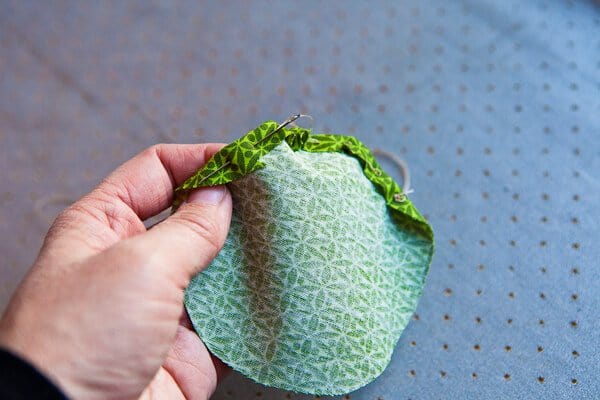
Place the fabric inside the yo-yo maker and cut around so you have at least 1cm of fabric around the yo-yo.

Like this:

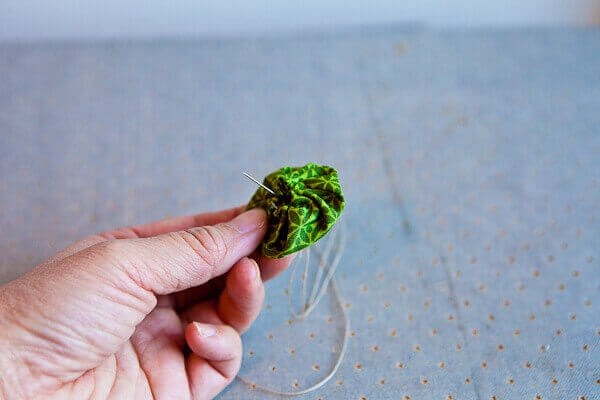
Now it’s time to sew, just follow the template….
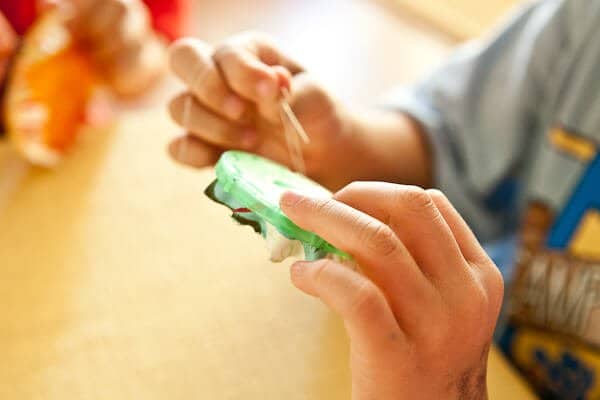
….poking the needle where the holes are in the template….
Of course, temporary tattoos are not necessary, but may give your child good sewing karma.

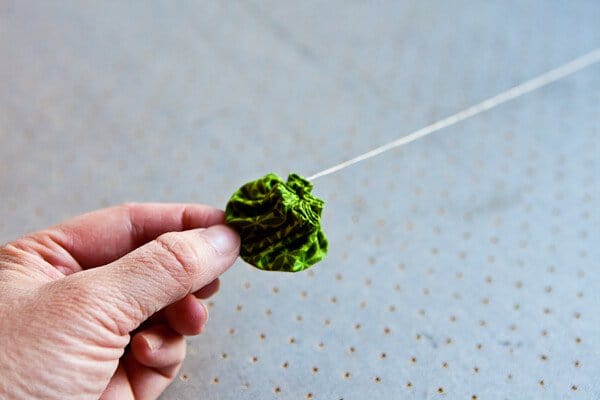
Once you’ve gone all the way around, remove fabric and tug at the string to make the yo-yo. See below on how to finish.
How to sew yo-yo’s without template
Download this template for sizes and sewing lines.
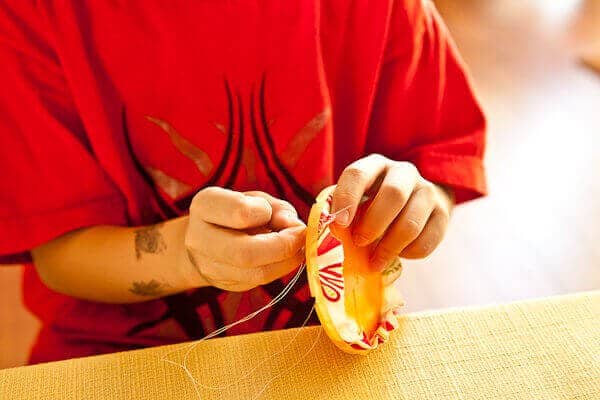
Step 1: Fold over about 1cm of fabric and begin sewing around the edge. Make your stitches about 1cm apart.
Go all the way around and make one stitch past where you began. Keep the needle on the thread.

Step 2: Gently hold yo-yo with left hand and gently tug the string with your other hand. You’ll have to stop and tug the folds as you go.

It should look like this when you’re done.
Step 3: Flatten the yo-yo.

Step 4: Sew through center to back of yo-yo. If this yo-yo is the largest you’re making, i.e. the bottom yo-yo of the Christmas Tree Yo-Yo Ornament, is where you can attach a few beads if you want.

Step 5: Sew right back up through center and attach the smaller yo-yo’s. If this yo-yo is the smallest size (i.e. the top of the Christmas Tree), you can sew on more beads that you want on top. Cut off needle and tie loop to hang on tree.
What you’ll need:
Fabric – each tree has 6 yo-yo’s so you might want to get 6 different fabrics. The largest size yo-yo will require 5″x5″ piece of fabric.
Christmas Tree Yo-Yo Template (pdf download)
Various beads or buttons
Sewing thread
Needle
Directions:
1. Print out the free template (see above)
2. Use long piece of thread, thread needle, double stranded and tie knot. Sew the yo-yo’s, there are 6 different sizes. Go from smallest to largest.
3. When you’ve finished the last yo-yo (the largest), keep the needle on the thread and string the yo-yo’s together, largest to smallest. You may want to string along some beads or buttons too. Leave extra string on top to hang on Christmas Tree.
***
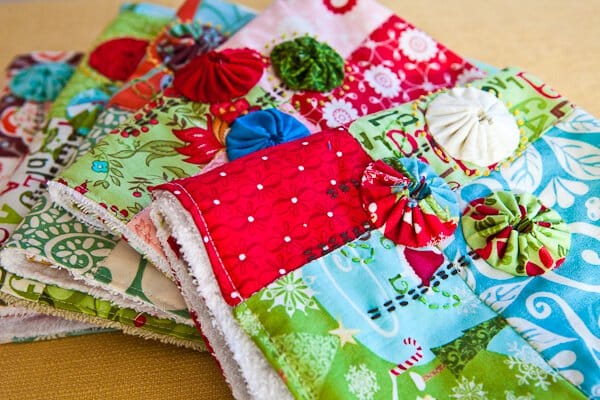
What else can you do with yo-yo’s? How about these kitchen hand-towels!


I tried posting this article to Pinterest. Only a black screen comes up and I can’t save it there. Help. Informative post. Thinking of having my 5 year old Granddaughter help. Thank you
We cherished your site. Significantly many thanks once again. Much obliged.
The photography is awesome,and the directions are excellant!Sure hope your little elves put one in my stocking!
How nice, Jaden! Where I live this “yo-yo” is called “fuxico” and usually made with fabric snip, heheheh Sometimes fashion people/designers use in their collection.
Your fabrics are so classy!
I have the stocking ornament that I made when I was in kindergarten and it is my favorite one to hang each year. You’re right about passing them down.
These are so cute and fun. I would love to try this with my kids. And I can’t wait to see the hand towels! Love that you are sharing these simple crafts now. 🙂
I haven’t stopped thinkgin about this since I came across it a few days ago and I thought of something AMAZING!!!!
Make the yo-yo’s out of clothing the children had grown out of that year!!!!
Whaddya think!
Katie-What a great idea! Here’s another: I’ve been saving the kids special tshirts that they get for their activities, fundraisers, school, tae kwon do etc. For their high school grad gift, I plan on making a quilt out of the fronts of the tshirts.
I love this ornament! Great instructional photos and, as always, darling boys!
These are SO adorable!
A great idea to create memories from each ornaments 🙂
Great job with the yo-yo ornaments! Here’s my yo-yo garland:
http://www.etsy.com/listing/37426000/150-yo-yos-garland
Deborah
homemakerhoney @gmail .com
Hi Jaden,
this is so handy , thanks a lot my kids will have lots of fun this Christmas
Dario
This looks really fun. Thanks for sharing!
i freaking love yo-yo’s! this is awesome! thanks for posting this. 😉